
Introduction
If you’re looking into open broadcaster software screen recording, chances are you just want one thing… record your screen properly without headaches.
And yeah, I get it.
You open OBS for the first time and suddenly there are “Scenes”, “Sources”, settings everywhere. It feels like too much.
But honestly? Once you get the basics, it becomes very simple.
In this guide, I’ll walk you through everything — slowly, clearly, and in a way that actually makes sense. We’ll also talk about open broadcaster software screen recording mac, because Mac users usually face a few extra issues.
Let’s start.
What is Open Broadcaster Software?
Open Broadcaster Software (OBS Studio) is a free tool used for:
- Recording your screen
- Streaming live videos
- Capturing gameplay
- Creating tutorials
And the best part… it’s completely free. No watermark, no time limit.
That’s why so many YouTubers and creators use it.
What Does Screen Recording Mean in OBS?
Simple idea.
Screen recording means capturing whatever is happening on your screen and saving it as a video.
With OBS, you can record:
- Your full screen
- A specific app (like Chrome or Zoom)
- A game
- Your webcam + screen together
So yeah… it’s flexible.
Why Use OBS Instead of Other Tools?
There are many screen recorders out there. Some are easier, sure.
But OBS gives you more control.
Here’s why people prefer it:
- No watermark (big plus)
- High-quality recording
- You can add mic + webcam
- Works on Windows and Mac
- Completely free
It’s a bit technical at first… but worth it.
First Time Opening OBS (What You See)
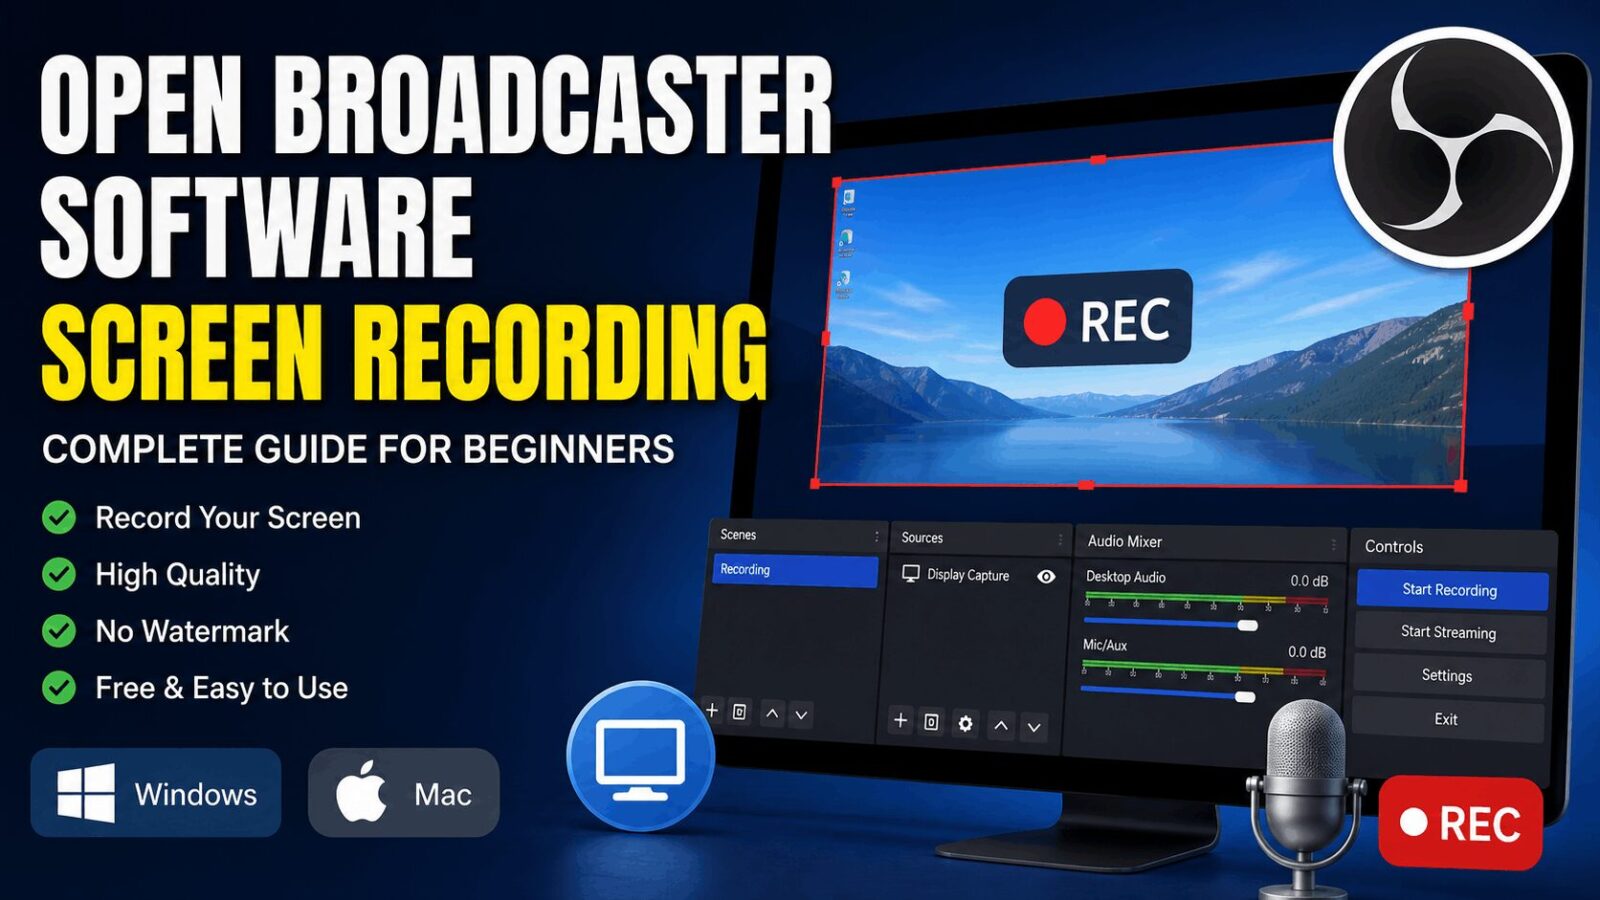
When you open OBS, you’ll notice a few sections:
- Scenes
- Sources
- Audio Mixer
- Controls
At first glance, it feels messy. But it’s not.
Think of it like this:
- Scene = your setup
- Source = what you want to record
That’s it. Don’t overthink it.
Step-by-Step: Open Broadcaster Software Screen Recording
Let’s do it step by step.
1: Install OBS
Download and install Open Broadcaster Software from the official website.
Open it once it’s installed.
2: Create Your First Scene
- Look at the “Scenes” box
- Click the “+” button
- Name it something simple like “Recording”
Done.
3: Add a Source
Now you tell OBS what to record.
Click “+” in the Sources section.
You’ll see options like:
- Display Capture (full screen)
- Window Capture (specific app)
- Game Capture
For beginners, just choose Display Capture.
4: Set Up Audio
Check the Audio Mixer.
You’ll see:
- Desktop Audio
- Mic/Aux
If the bars are moving, you’re good.
If not… yeah, something’s off. Check your microphone settings.
5: Adjust Basic Settings
Go to Settings → Output and Video.
Keep it simple:
- Resolution: 1920×1080
- FPS: 30 (good enough for most cases)
- Format: MP4
You can change later. Don’t stress.
6: Start Recording
Click “Start Recording”.
Do your thing.
When finished, click “Stop Recording”.
OBS will save your video automatically.
Open Broadcaster Software Screen Recording Mac
Now let’s talk about open broadcaster software screen recording mac.
Mac users often run into small issues. Nothing serious, but yeah… a bit annoying.
First Problem: Permissions
On Mac, OBS needs permission to record your screen.
If you don’t allow it, it won’t work.
Fix it like this:
- Go to System Settings
- Privacy & Security
- Screen Recording
- Enable OBS
Restart the app after that.
Second Problem: No System Audio
Mac doesn’t allow system audio recording easily.
You might need extra tools like virtual audio drivers.
But honestly… if you’re just recording tutorials, mic audio is enough.
Third Problem: Black Screen
This happens sometimes.
Quick fix:
- Restart OBS
- Re-add Display Capture
- Check permissions again
Usually works.
Best Settings for Smooth Recording
You don’t need perfect settings. Just good enough.
Video Settings
- Resolution: 1920×1080
- FPS: 30
Output Settings
- Format: MP4
- Bitrate: 3000–5000 kbps
Audio Settings
- Bitrate: 160 kbps
If your PC is slow, reduce resolution. Simple.
OBS vs Other Screen Recorders
| Feature | OBS Studio | Basic Recorder |
|---|---|---|
| Price | Free | Free/Paid |
| Quality | High | Medium |
| Watermark | No | Sometimes |
| Customization | High | Low |
| Ease | Medium | Easy |
So yeah… OBS wins in power, but takes a bit more effort.
Tips That Actually Help
Here are some real tips. Not just theory.
Keep it simple
Don’t add too many sources at once.
Start with screen + mic.
Test before recording
Always record a 10-second clip first.
You’ll catch mistakes early.
Use a decent microphone
Bad audio ruins good video.
Close extra apps
OBS needs performance.
More apps = more lag.
Learn slowly
You don’t need to master everything in one day.
Common Mistakes Beginners Make
This part is important.
Trying advanced settings too early
Keep it basic first.
Ignoring audio
People focus on video… but forget sound.
Recording without testing
And then… the file is broken. Painful.
Using wrong source
Sometimes people choose Window Capture instead of Display Capture.
And nothing records.
When Should You Use OBS?
OBS is great for:
- YouTube videos
- Tutorials
- Online teaching
- Gaming
- Presentations
Basically anything where you need control.
Advantages of Open Broadcaster Software Screen Recording
- Free forever
- No watermark
- High quality
- Flexible setup
- Works on multiple systems
Disadvantages (Let’s Be Honest)
- Not beginner-friendly at first
- Setup takes time
- Mac has some limitations
But once you learn it… it’s smooth.
FAQs About Open Broadcaster Software Screen Recording
What is open broadcaster software screen recording?
It means recording your screen using Open Broadcaster Software.
Is OBS good for beginners?
Yes… but it takes a little time to learn.
Can I use OBS on Mac?
Yes, open broadcaster software screen recording mac works fine with proper permissions.
Does OBS record audio?
Yes, both system sound and microphone.
Is OBS completely free?
Yes, 100% free with no watermark.
Conclusion
So yeah… open broadcaster software screen recording might look complicated in the beginning.
But it’s not.
Once you understand scenes and sources, everything becomes easy. You just set it once, and then you’re good to go.
Whether you’re using Windows or trying open broadcaster software screen recording mac, the process is pretty much the same.
Start simple. Don’t rush. Test your setup.
And slowly… you’ll get really good at it.